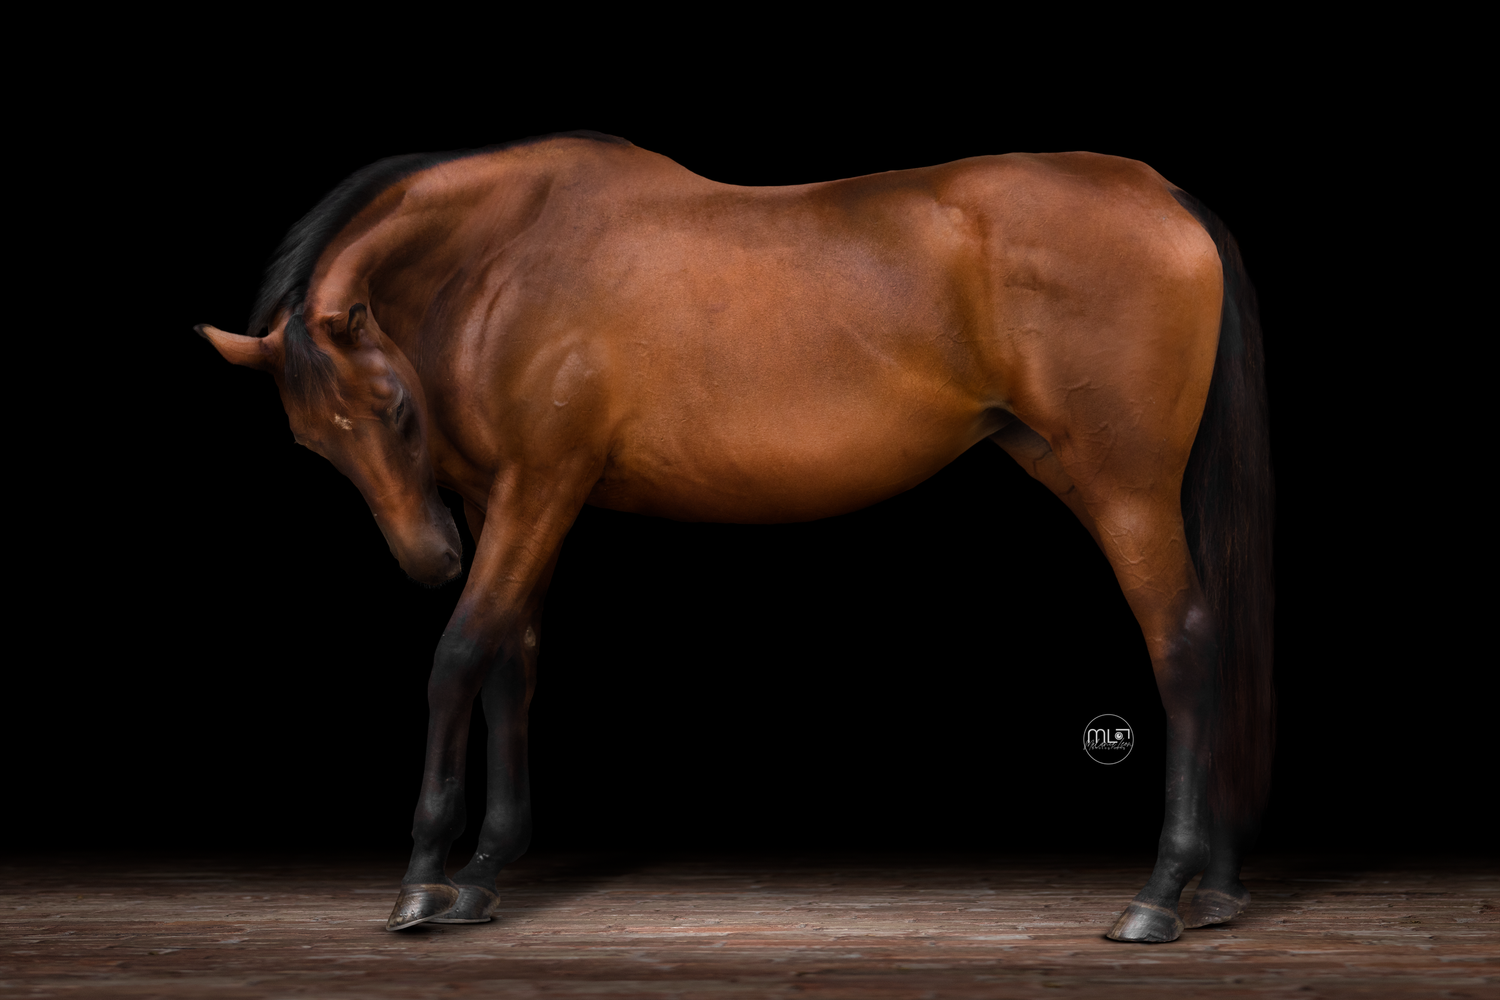
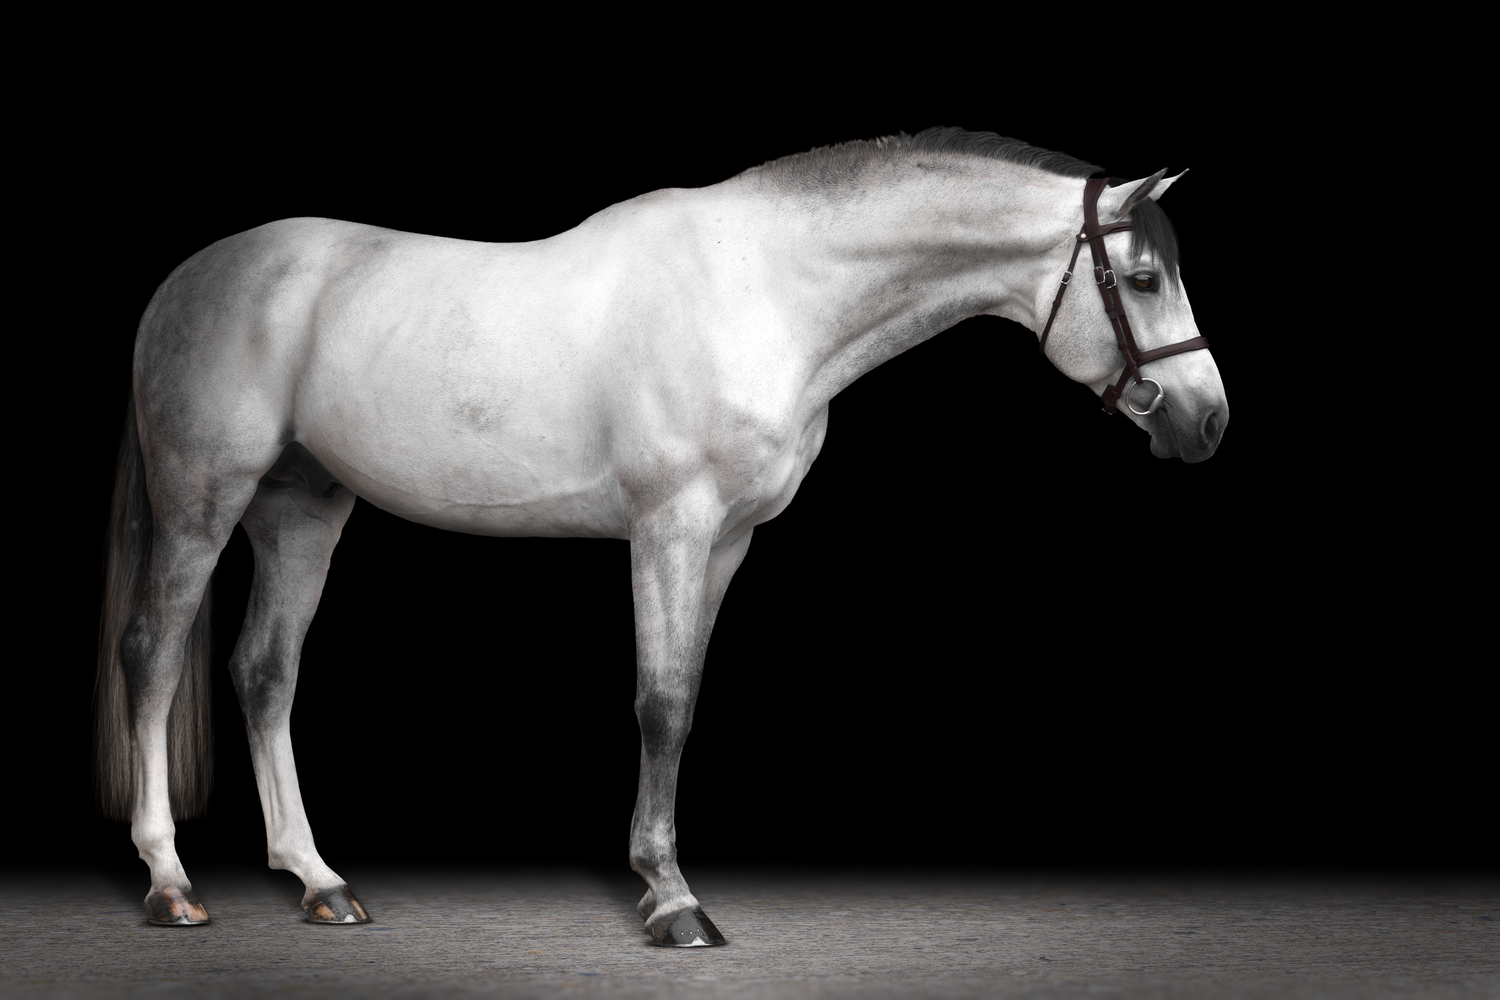
If you’ve ever wondered how photographers create those dramatic black-background horse portraits, there are two very different ways to do it. As a horse photographer who spends a lot of time in Adobe Photoshop creating fine-art equine portraits, I’ve used both—and each has its place.
I’m Melanie, a photographer specialising in fine-art equine and pet photography. While fine-art horse portraits are a huge passion of mine, horses actually make up only about half of my photography work. The other half is a mix of dog, family, and other portrait sessions.
And honestly, that’s probably a good thing.
Some of my black background horse images can take an hour and a half to edit. That’s a lot of time to spend on a single photograph! But they don’t have to.
There are two main ways to create a black background horse image: one that relies primarily on your camera and natural lighting, and another that involves a much more intensive Adobe Photoshop editing process.
METHOD ONE: CREATE THE BLACK BACKGROUND IN CAMERA
The first method is the simpler—and much faster—approach.
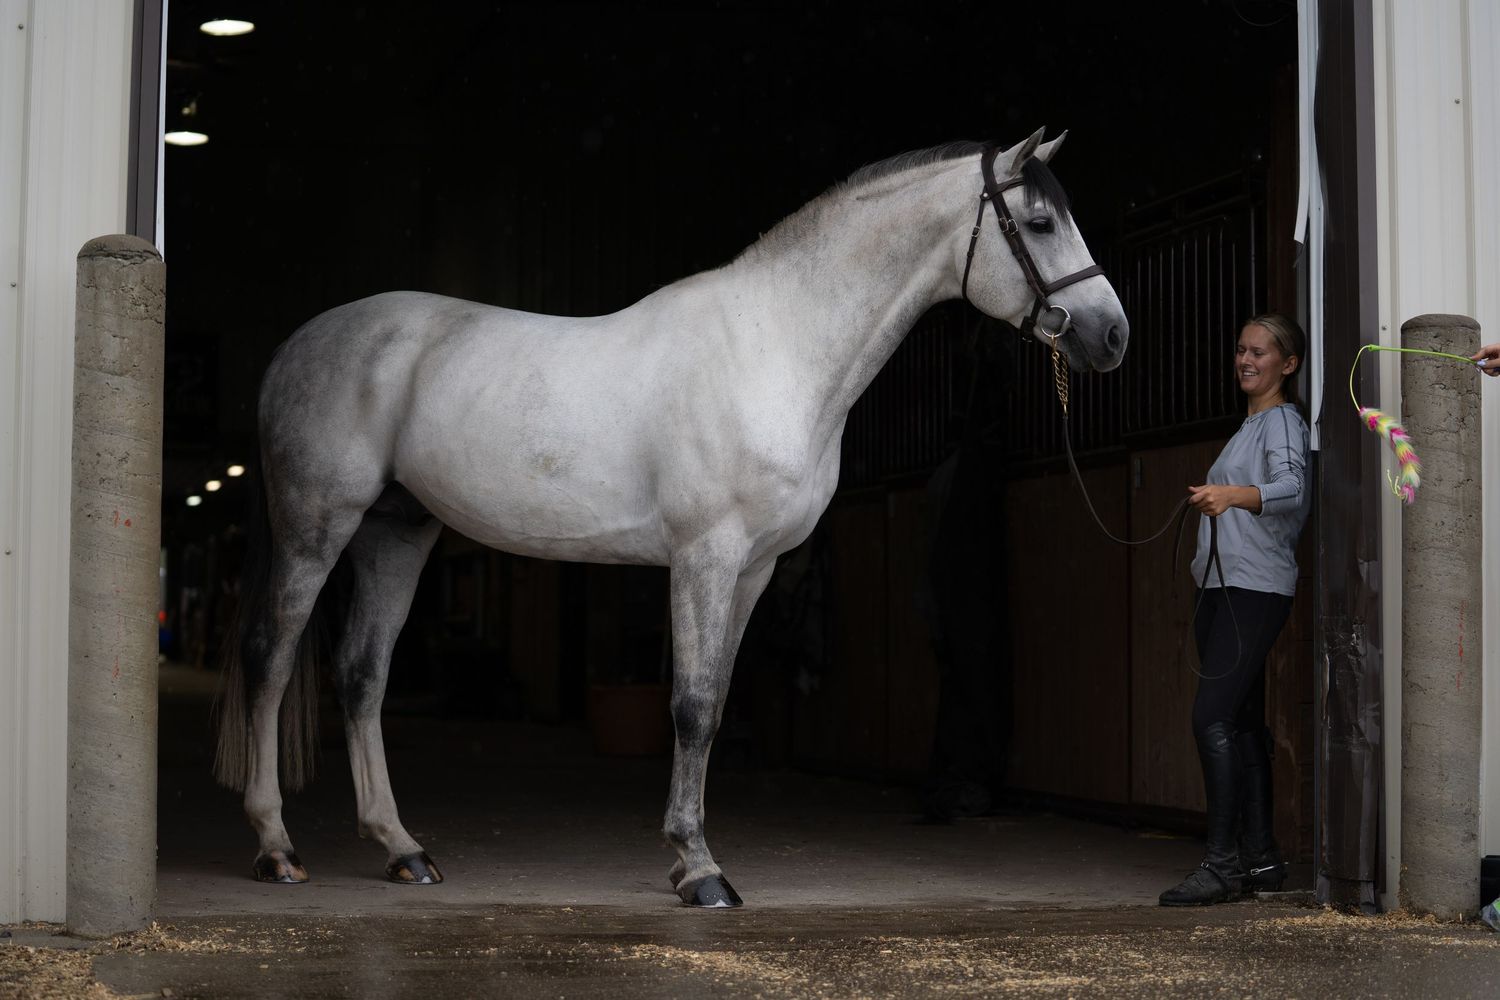
Position the horse in the entrance of a barn or stable, with the horse standing in the doorway and the darker interior behind them. Ideally, ask the barn staff to turn off any overhead lights and close doors behind the horse so the stable is as dark as possible.
The contrast between the outdoor light falling on the horse and the darkness inside the barn can create a naturally black, or nearly black, background.
And when the conditions are right, it can look fantastic.
The downside
The biggest limitation is that you’re still photographing the environment.
Even when the stable looks very dark, there are often objects behind or around the horse—stall doors, tack, buckets, walls, hay, people, equipment, or other visual distractions. These can show up in the final image.
That’s where a little Adobe Photoshop or Lightroom editing can help.
"The biggest limitation is that you’re still photographing the environment."
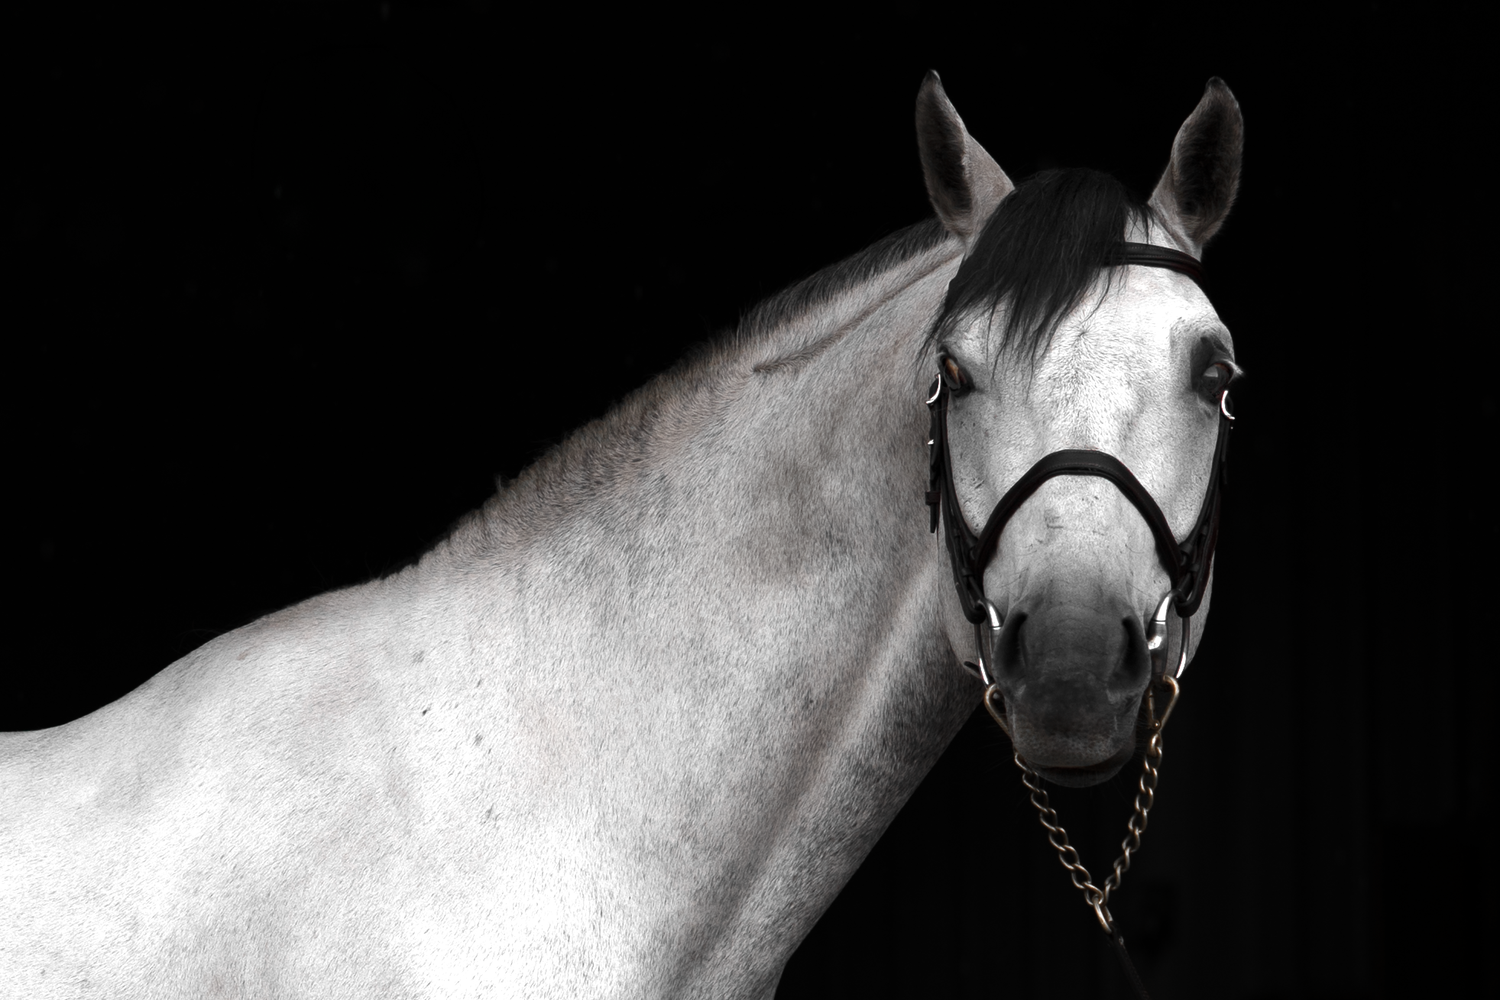
The background from this photo is from camera. The background is naturally black and I haven't edited it at all.
The only part I've edited is I've masked the horse and edjusted the exposure to help him pop!
How I get the best results in camera...
1. Pay attention to the light.
I prefer shooting around midday at a doorway with no direct sunlight.
This might sound counterintuitive—wouldn’t more sunlight be better? Not necessarily.
Indirect outdoor light creates a much more even, studio-like light on the horse. You get fewer harsh shadows and less glare, while still having enough light on the horse to create that beautiful separation from the dark stable behind them.
2. Keep the background as dark as possible.
Turn off overhead lights, close doors behind the horse, and remove anything distracting from the immediate area if possible.
The darker you can make the stable, the less work you’ll need to do afterward.
3. Clean up the background in Photoshop.
If I have some unwanted objects showing behind the horse, I’ll select the subject in Adobe Photoshop, then expand the selection by roughly 10 pixels and feather it by about 5 pixels.
From there, I’ll paint over the distracting objects in the background.
One important detail: I don’t simply grab pure black and paint everything out. Instead, I’ll use the colour selector to sample the surrounding background so that the black I’m painting blends naturally with what’s already there.
I also use a soft brush and avoid painting directly along the horse’s selection edge. That little bit of extra space created by expanding and feathering the selection helps preserve those tiny details that can otherwise disappear—fine hairs, ear fuzz, whiskers, and other little edges that make the horse look natural.
You can do another version of this in Lightroom Mobile
Another option is to use Lightroom Mobile’s masking tools.
You can mask the background and lower the exposure dramatically, then create a separate mask for the horse and adjust the horse’s lighting so that it stands out from the background.
This is a much quicker approach, especially if you’re looking for a beautiful black background without needing to completely reconstruct the image.
Method Two: Completely Extract the Horse
This is the method I use when I want complete control over the final image. The photograph itself is captured much the same way: I still want that beautiful, even, indirect light on the horse. But instead of simply darkening the existing background, I completely remove it.
And this is where the editing gets time-consuming.
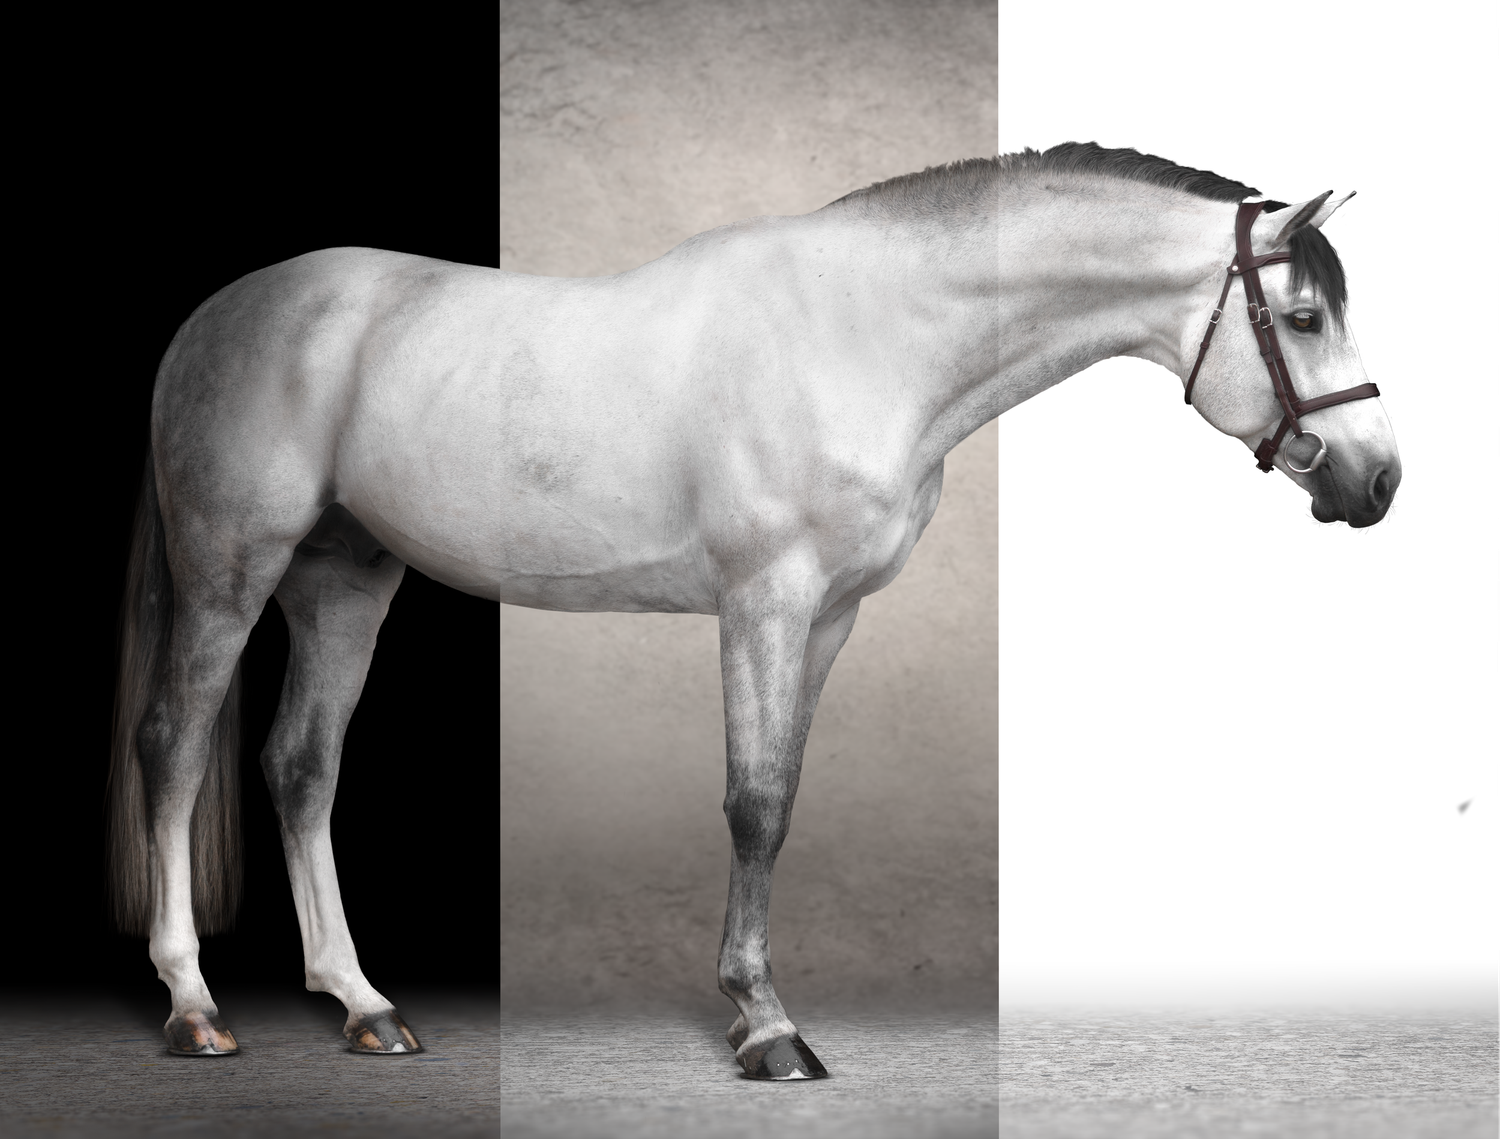
I’ll create a masking layer in Adobe Photoshop and meticulously cut the horse away from the original background. I don’t rely entirely on Photoshop’s automatic Select Subject tool for this.
It can certainly be helpful as a starting point, but I often find that automatic selections can become pixelated or miss parts of the horse—particularly around fine hair, ear fuzz, whiskers, manes, tails, and other complicated edges.
So I go through the image manually.
I clean up the mask, redraw individual hairs where necessary, and essentially reconstruct the delicate edges of the horse so that the final extraction looks natural rather than like a cutout.
It’s tedious.
It’s also one of the reasons I love this kind of work.
"It’s tedious.
It’s also one of the reasons I love this kind of work."
Adding a Floor Replacement
For some images, I take the editing even further and replace the floor as well.
This allows me to remove distracting dirt, mats, concrete, stall floors, or other elements underneath the horse and create a more polished fine-art portrait.
A convincing floor replacement isn’t simply a matter of dropping a new texture underneath the horse.
I use perspective tools to make sure the floor looks believable, blur tools to create the appropriate depth, and carefully add shadows beneath the hooves and legs so that the horse actually appears to be standing on the new surface.
The goal is for you to look at the finished photograph and not think about the editing at all.
It should simply look like the horse was photographed there.
Why I Use the Second Method
The biggest advantage of completely extracting the horse is flexibility. Once the horse has been carefully separated from the original environment, I can place them on a variety of backgrounds.
Black.
White.
Textured.
Something more dramatic.
Something much simpler.
It gives me—and my clients—far more creative options than we’re going to get from the original barn environment.
But there’s a trade-off.
A lot more time goes into each photograph.
For a black background horse portrait without a floor replacement, I’m typically spending around one hour per image on the editing.
When I add a floor replacement, that can increase to around an hour and a half per photograph.
And that’s just the editing time.
It’s one of the reasons my fine-art horse portrait sessions include fewer final images than some other types of photography sessions. I’m not trying to deliver hundreds of photographs.
I’m creating a smaller collection of images that have received a lot of individual attention.
IT OPENS UP MUCH MORE CREATIVE POSSIBILITIES
Another big advantage of completely extracting the horse is that I can get much more creative with the poses.
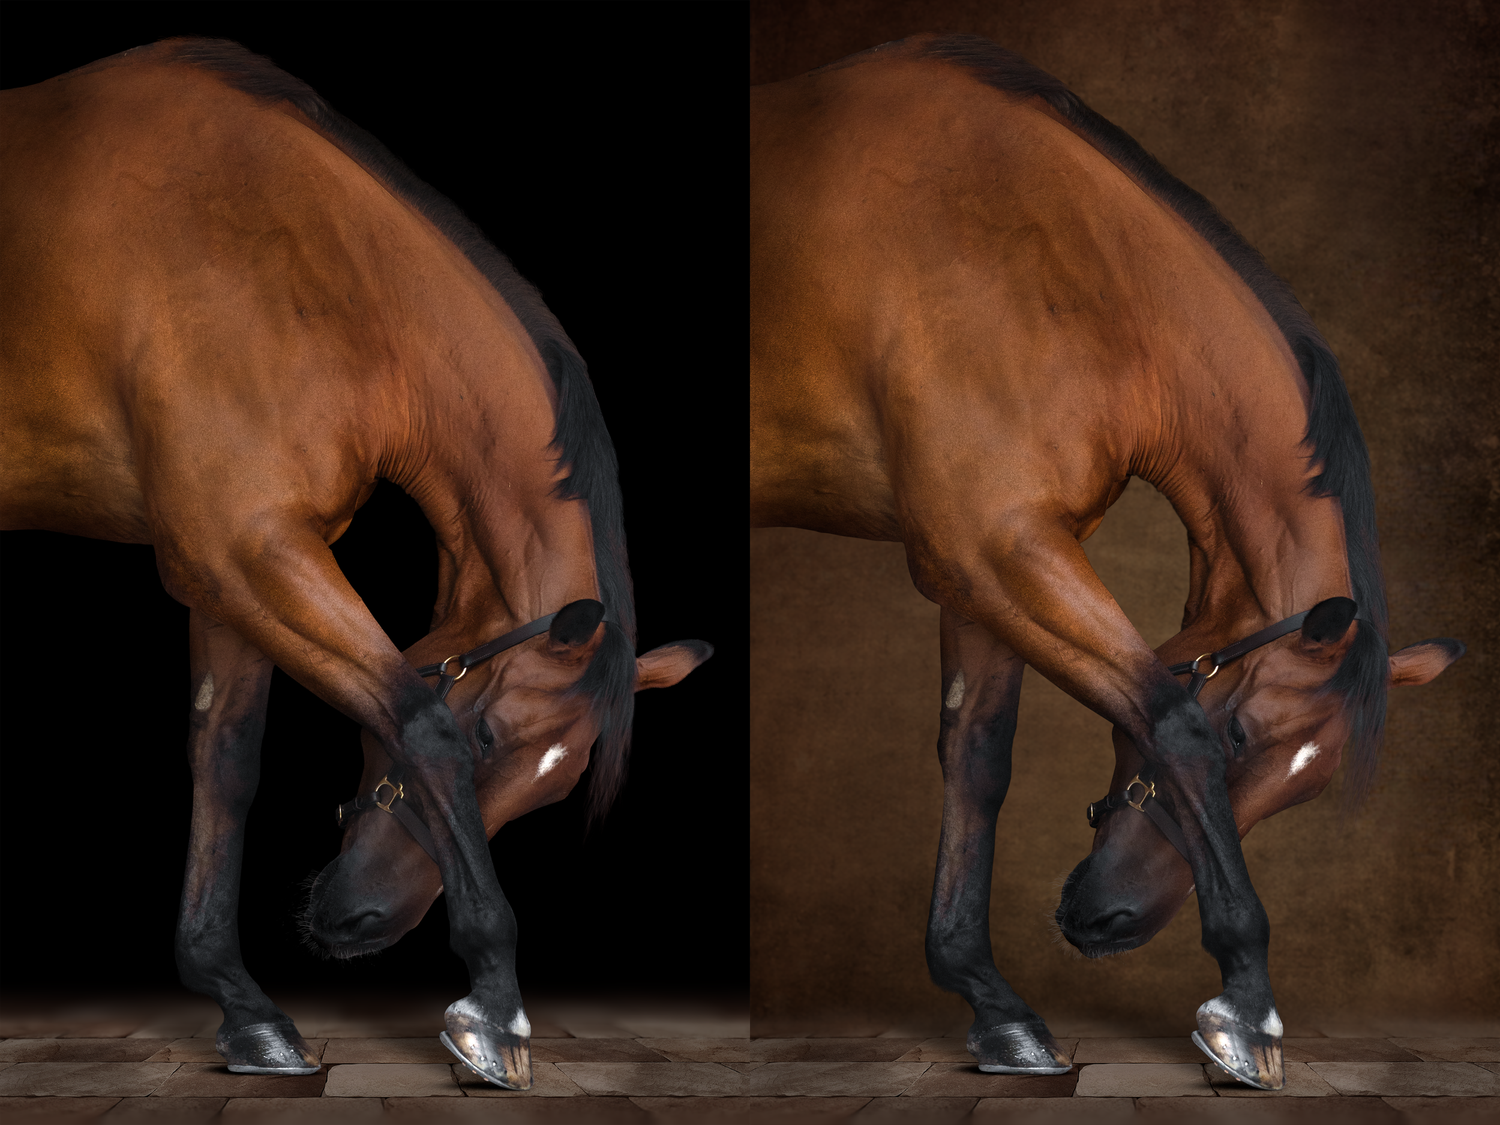
Some of my favourite equine portraits involve movements such as a bow or a curtsy. These can be difficult to photograph as a completely clean final image because the horse often needs a person nearby to guide them through the movement.
But that person doesn’t have to be in the final photograph.
Because I’m completely extracting the horse, I can take elements from different frames and splice them together. For example, I might use the horse’s head from one photograph, the body from another, and the legs from another to create one cohesive final pose—while removing the person who was helping guide the horse.
It’s a little like creating a photographic Frankenstein, except the goal is for you to have absolutely no idea that anything was pieced together.
This gives me the freedom to create portraits that simply wouldn’t be possible from a single frame.
And, of course, I still have all the flexibility of choosing a completely different background once the horse has been extracted.
Which Method Should You Use?
Neither method is necessarily better.
If you want a beautiful black background horse photograph with relatively little editing, creating the effect in camera is a fantastic option. With the right barn, the right light, and a little cleanup afterward, you can get a beautiful result without spending hours in Photoshop.
If you want maximum flexibility—or you want the horse completely separated from the original environment—the full Photoshop extraction gives you far more control.
For my own fine-art equine work, I use both approaches depending on the image and the final look I’m after.
And there’s one other little trick I use during the photography itself: I generally photograph horses in a naked halter whenever possible. It makes the halter much easier to remove during the editing process while keeping the horse looking completely natural.
But that’s a topic for another blog post.
Which style would you use—the quick in-camera approach or the full Photoshop extraction?